Venturing into the realm of graphic design and exploring vector logo designs for your sporting event can be both exciting and rewarding. One of the essential elements of this creative journey is understanding how to open and effectively work with vector artwork specifically tailored for t-shirt printing. In this beginner’s guide, we will delve into the fundamental steps and techniques to help you navigate the world of vector t-shirt logo designs, ensuring a seamless and successful design process for your upcoming sporting event.
Opening a Vector T-Shirt Logo Design
- Select the Right Software: Utilize vector graphic design software such as Adobe Illustrator, CorelDRAW, or Inkscape to open and manipulate vector artwork effectively.
- Import the Design File: Navigate to the desired vector logo file on your computer and import it into your chosen design software by selecting “File” > “Open” and locating the file.
- Adjust Artboard Size: Resize the artboard to match the dimensions of your desired t-shirt print area, ensuring that the logo is appropriately sized and positioned for printing.
Working with a Vector T-Shirt Logo Design
- Vector Editing Tools: Familiarize yourself with vector editing tools such as pen tools, shape tools, and pathfinder functions to modify and customize elements within the logo design.
- Color Adjustments: Experiment with color swatches, gradients, and transparency to enhance the visual appeal of the logo and ensure compatibility with your desired t-shirt color.
- Text Modifications: Edit text elements within the design using typography tools to adjust font styles, sizes, and alignments to complement the overall logo composition.
- Layer Organization: Utilize layers to organize different design elements, making it easier to manage and edit individual components of the logo design.
Preparing for T-Shirt Printing
- Rasterization: If necessary, convert text elements or complex vector graphics into raster images for printing, ensuring compatibility with specific printing processes.
- Exporting for Printing: Save the finalized design in a suitable file format such as PDF, EPS, or SVG to maintain vector quality for printing on t-shirts.
- Resolution Checks: Verify that the exported design maintains a high resolution to guarantee crisp and clear printing results on fabric.
Common Challenges and Solutions
- File Compatibility: Ensure that the design software you use is compatible with the vector logo file format to prevent data loss or formatting issues.
- Color Matching: Adjust color profiles and understand color space conversion to accurately reproduce logo colors on t-shirts during printing.
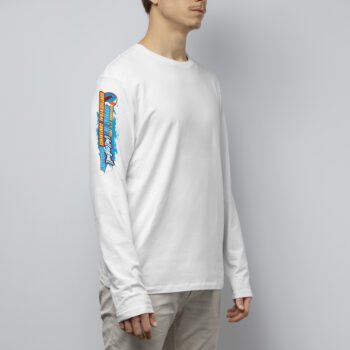
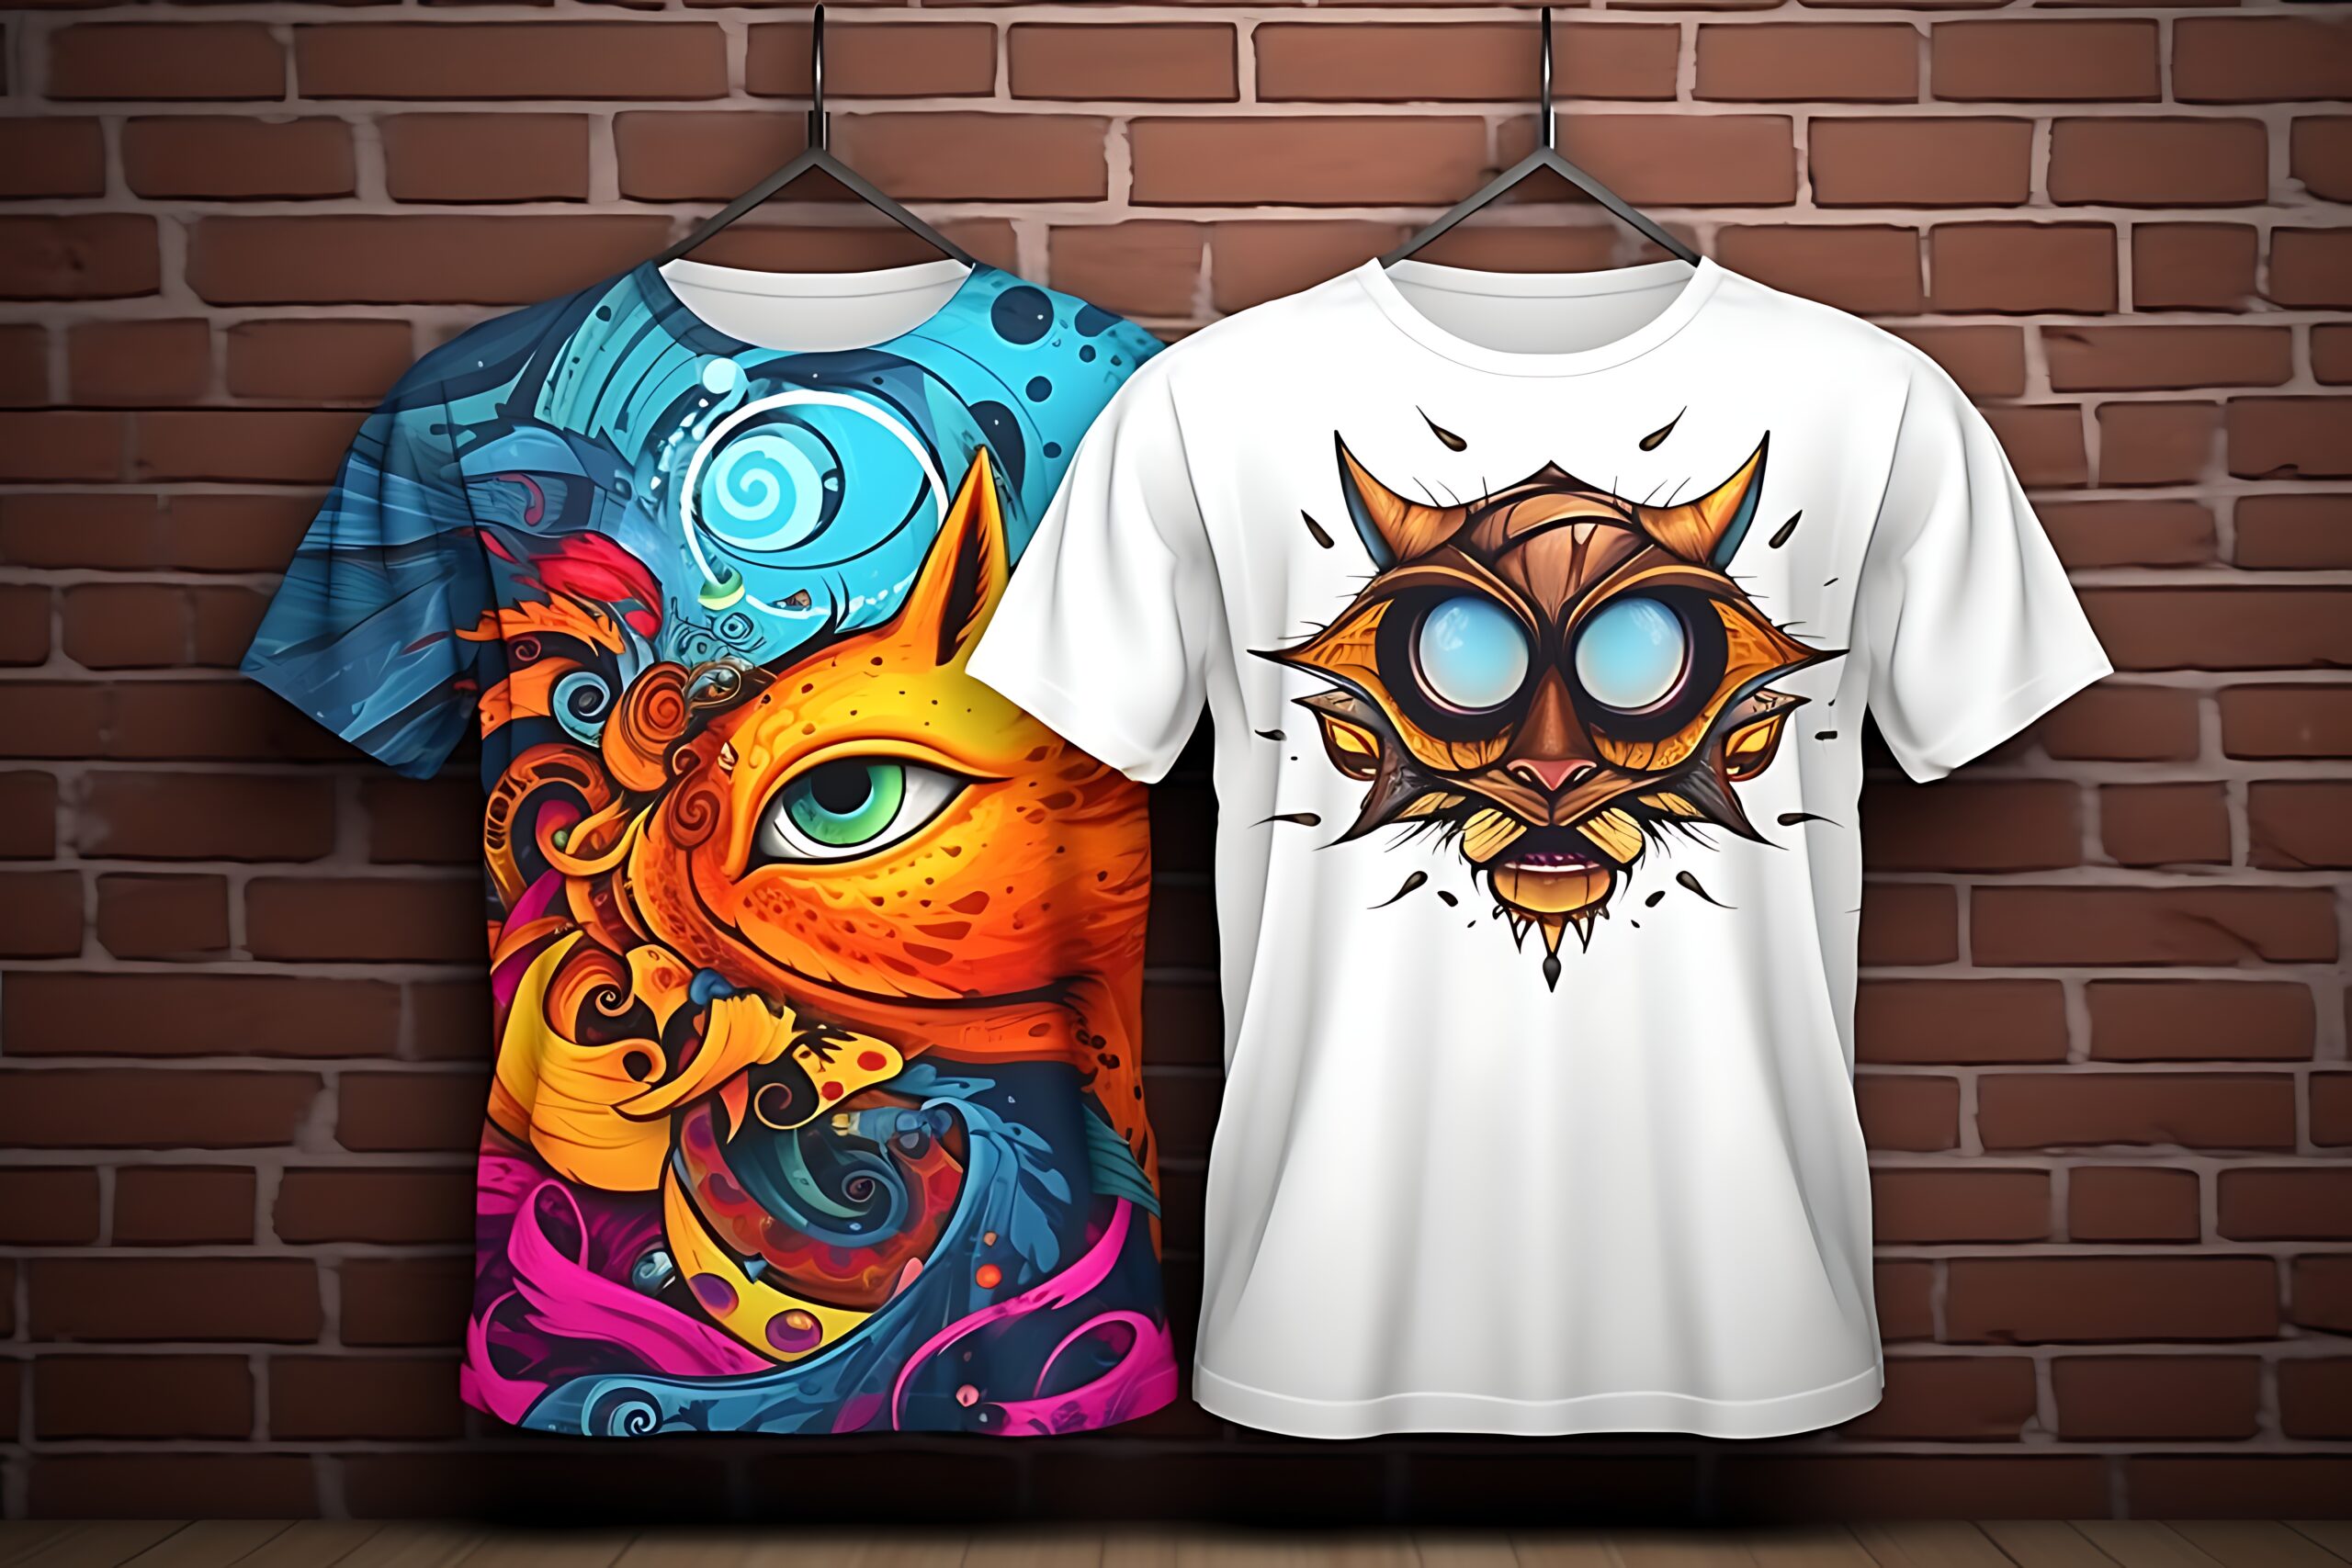
- Print Alignment: Preview the design on t-shirt mockups to ensure proper placement and sizing of the logo for optimal visual impact and balance.
By mastering these basic steps and techniques for handling vector t-shirt logo designs, you can effectively bring your creative vision to life and produce professional-quality logos tailored for sporting events with precision and creativity.
Explore our website at myeventartist.com for more valuable tips on sporting event logo designs. Discover our extensive collection of immediately downloadable vector logo designs suitable for various sporting categories. If you need a custom event logo design crafted to your specifications, submit a request at https://myeventartist.com/product/request-custom-event-logo-design/ to embark on creating a unique and impactful logo for your upcoming sporting event.
Keywords: vector t-shirt logo design, graphic design, sporting events, vector artwork, t-shirt printing
#vectortshirtlogodesign, #graphicdesign, #sportingevents, #vectorartwork, #tshirtprinting


Leave a Reply