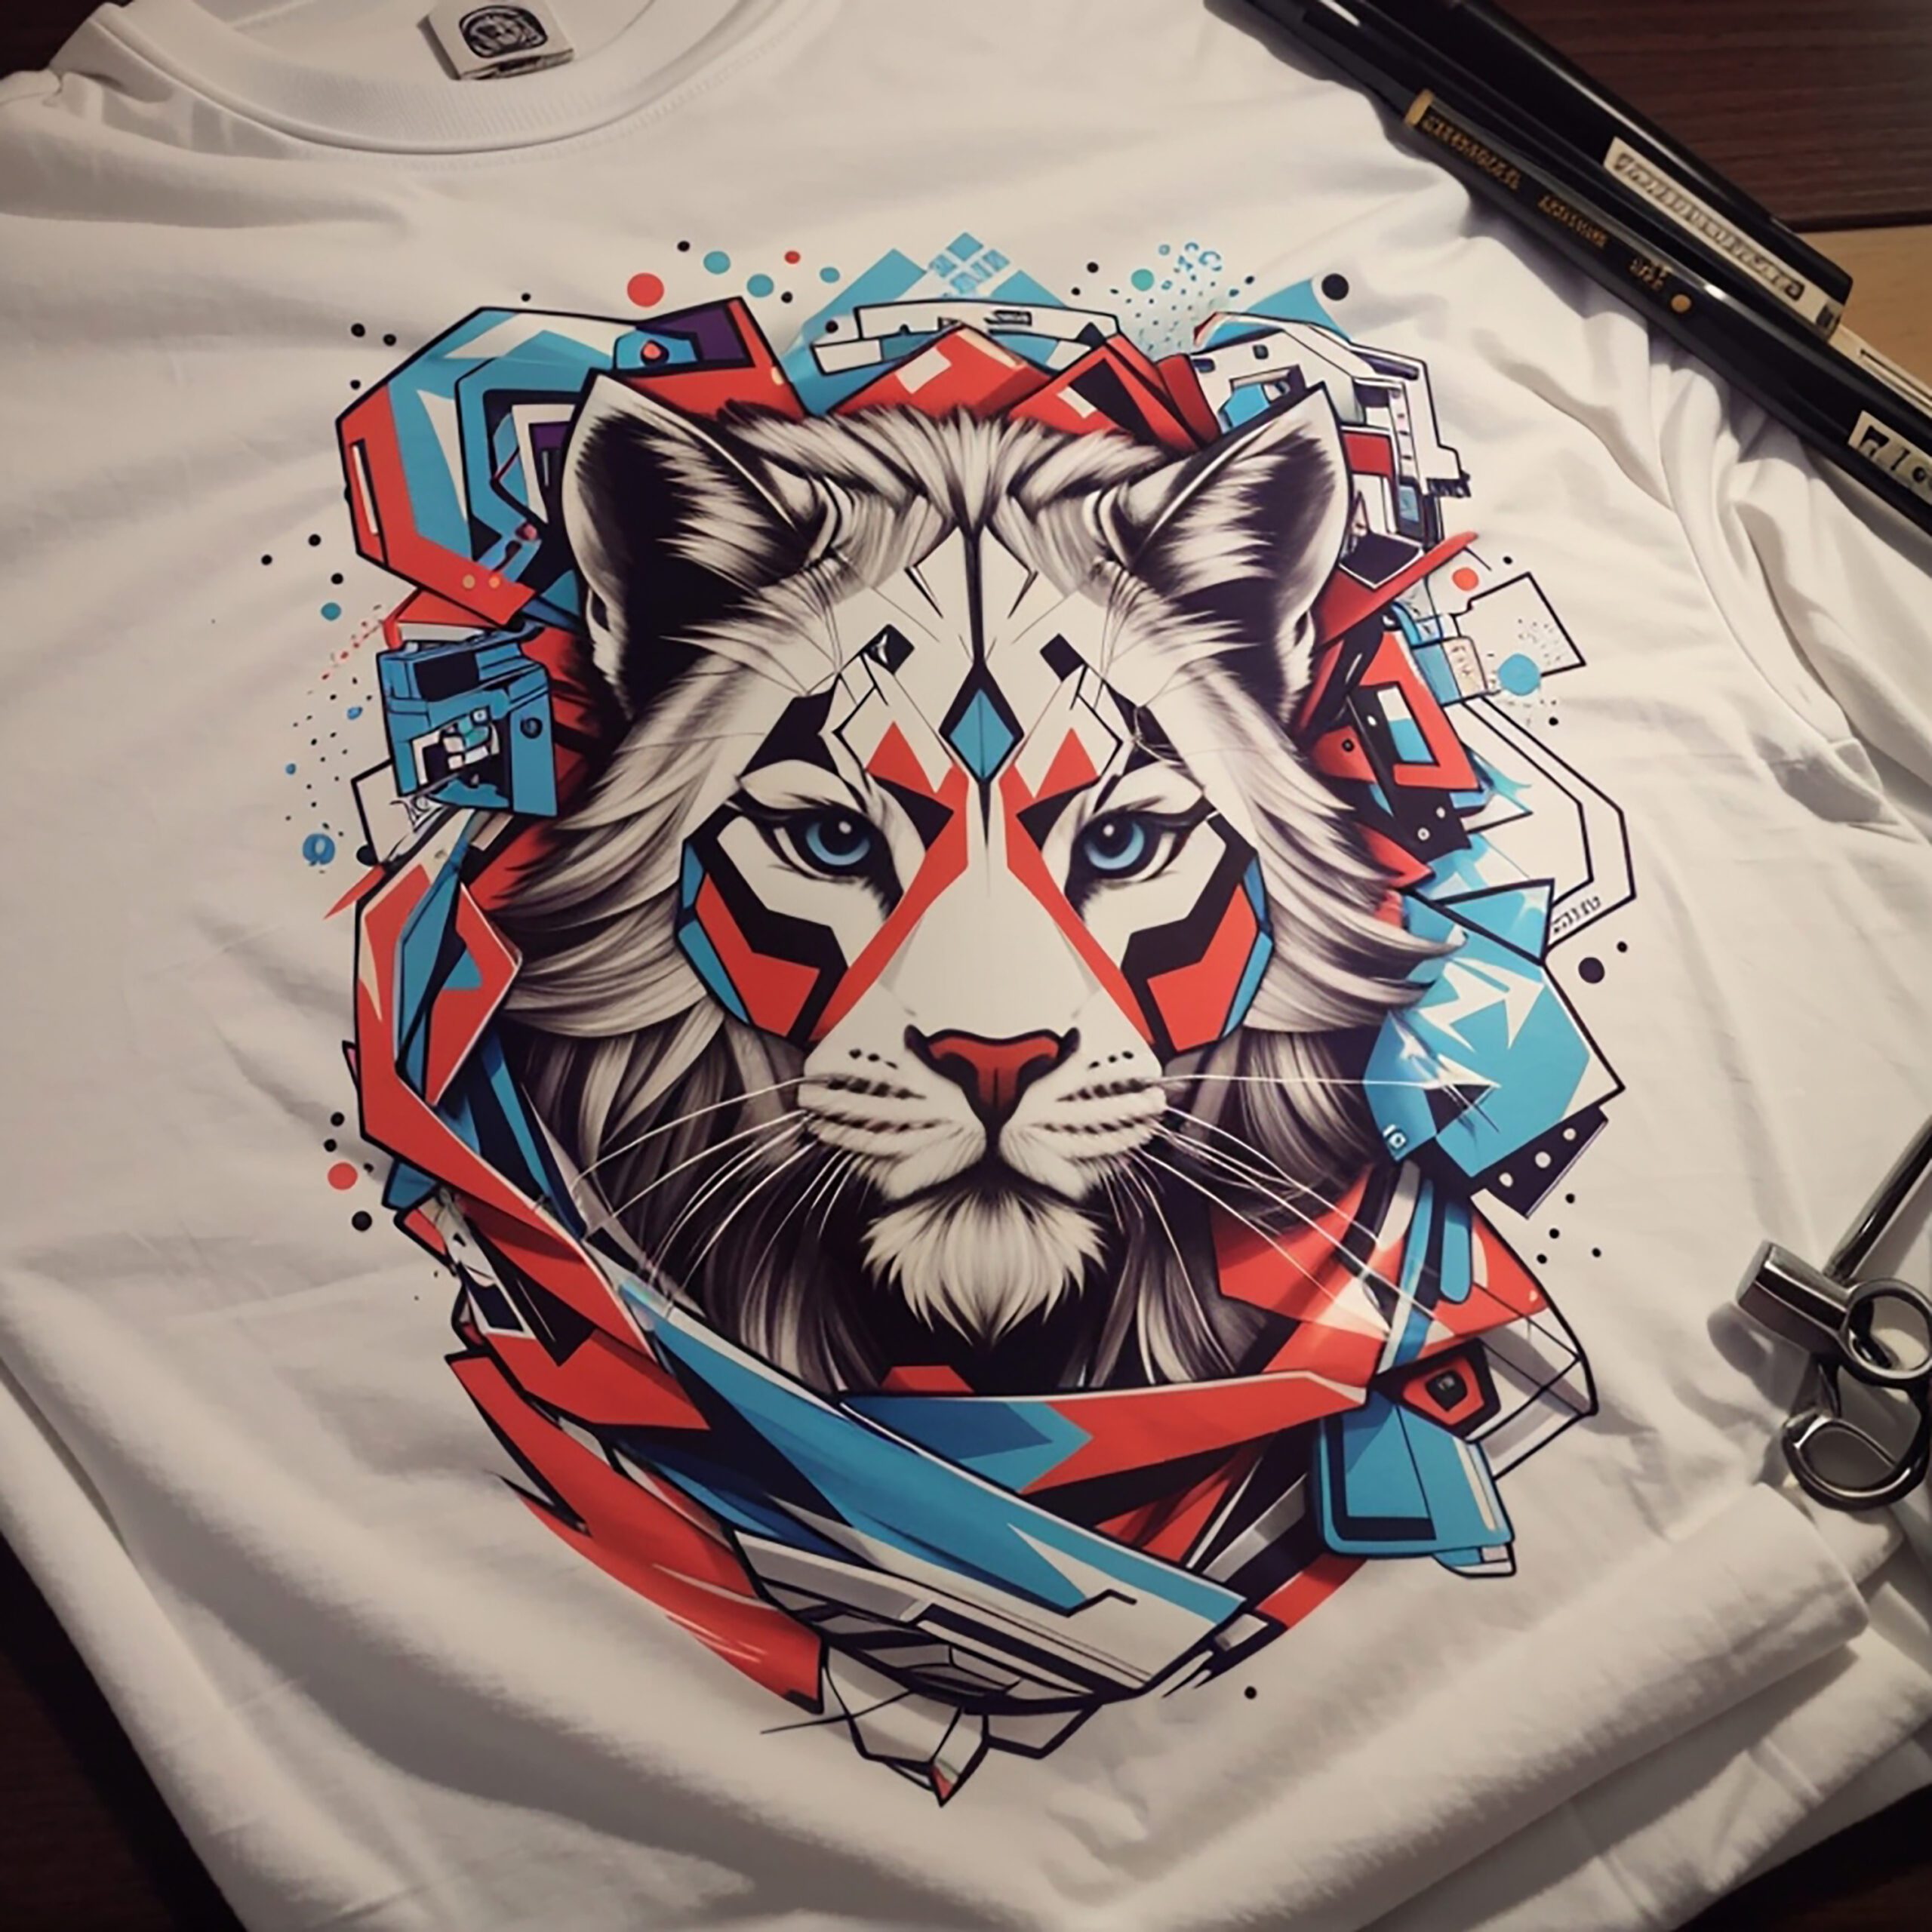
Mascots and characters are an integral aspect of sports branding, providing teams and events with a fun and engaging identity. They serve not only as symbols of team spirit but also as relatable figures that connect fans and audiences to their favorite teams. Designing compelling mascots and characters for sports logos requires creativity, a solid understanding of design principles, and proficiency in tools like Adobe Illustrator.
At My Event Artist, we specialize in delivering high-quality logo design services tailored to the sports industry, helping teams and event organizers develop memorable visual identities. This detailed guide will walk you through the process of creating mascots and characters for sports logos using Adobe Illustrator, equipping you with the skills to bring your designs to life.
Understanding the Role of Mascots in Branding
1. Enhancing Team Identity
Mascots give teams a unique identity, embodying their values, spirit, and culture. They can inspire camaraderie and loyalty among fans and athletes.
2. Fostering Engagement
Characters can serve as a bridge between the team and its supporters. They’re often featured in marketing materials, merchandise, and community outreach programs, creating memorable interactions.
3. Representing Values
A well-designed mascot can communicate the unique characteristics of a team. For instance, an eagle could represent strength, determination, and patriotism, while a bear might signify tenacity and resilience.
Step-by-Step Guide to Designing Mascots in Illustrator
Creating a mascot for your sports logo involves several stages, from ideation to final design. Here’s how to do it.
Step 1: Concept Development
Before jumping into Illustrator, take some time to brainstorm and sketch your mascot:
- Identify Key Characteristics: Consider the team’s values and characteristics that you want to portray. Write down words or phrases like “strength,” “speed,” “courage,” or “team spirit.”
- Brainstorm: Draw inspiration from animals, objects, or fantastical creatures that resonate with your chosen theme. For instance, if you’re designing for a basketball team, consider what animal represents agility and quickness.
- Sketch Ideas: Create rough sketches of potential mascot designs. Focus on different poses, features, and expressions.
Step 2: Create a New Document in Illustrator
With your sketches in hand, open Adobe Illustrator to start the vectorization process:
- Begin a New Document: Go to File > New. Set your artboard to typical logo dimensions, such as 1000 x 1000 pixels.
- Disable Grids: You might want to disable grids and guides for a cleaner workspace. This can be done under the View menu.
Step 3: Import Your Sketches
Once you have your sketches ready, bring them into Illustrator for tracing:
- Scan and Save Your Sketch: Use a scanner or take a high-resolution picture of your best sketch and save it as a JPEG or PNG.
- Import into Illustrator: Go to File > Place and select your scanned sketch. Position it on your artboard.
- Lock the Sketch Layer: In the Layers panel, lock the layer containing your sketch to prevent accidental movements.
Step 4: Begin Vectorizing the Mascot
With your sketch laid out, you can start building the vector version of your mascot:
- Create a New Layer: In the Layers panel, create a new layer above your sketch for the vector paths.
- Select the Pen Tool: Use the Pen Tool (P) to start tracing your mascot. Focus on creating clean lines that convey the desired shapes and forms.
- Start with Basic Shapes: To simplify the process, start by using basic shapes (Rectangles, Ellipses, etc.) to build out the larger areas of your mascot, such as the body, head, arms, and legs.
- Trace the Details: Gradually switch to the Pen Tool to add intricate details, such as facial features, clothing, and accessories.
Step 5: Refining the Vector Paths
After outlining your mascot, it’s time to refine and smooth your paths:
- Smooth Curves: Select anchor points and use the Direct Selection Tool (A) to adjust curves and smooth outany jagged lines.
- Blend Shapes: Use the Shape Builder Tool (Shift + M) to combine or remove overlapping shapes for a cleaner look.
- Adjust Stroke Settings: In the Stroke panel (Window > Stroke), adjust the stroke weight to emphasize certain areas of the mascot, such as the outline.
Step 6: Adding Color and Textures
Once your outline is complete, it’s time to add colors and textures that bring your mascot to life:
- Choose Colors: Use the Color Picker or Swatches panel (Window > Swatches) to select your team’s colors.
- Fill Shapes: Select each shape of your mascot and add fill colors as desired. Be bold and ensure the colors align with your team’s branding.
- Implement Gradients: For a more dynamic look, consider using gradients. Select a shape and navigate to the Gradient panel (Window > Gradient) to apply color transitions.
- Add Patterns or Textures: Use patterns from the Pattern Libraries (Window > Swatch Libraries > Patterns) or create your own textures to enhance your mascot’s appearance.
Step 7: Finalize Your Design
With the mascot fleshed out, it’s time to finalize the design:
- Add Details: Incorporate final touches, such as shadows, highlights, and accessories, to enhance depth and interest.
- Use the Type Tool: If applicable, add text elements such as the team name or event tagline. Choose a suitable font that complements your mascot design.
- Check Alignment: Ensure all elements are properly aligned and proportionate. Use the Align panel (Window > Align) to achieve balanced compositions.
Step 8: Save and Export Your Mascot
Once everything is to your liking, save your work and prepare for export:
- Save Your Illustrator File: Go to File > Save As to keep an editable version of your mascot. Save it in AI format for future edits.
- Export for Use: Now, export your mascot for various platforms. Go to File > Export > Export As and choose formats based on your intended use:
- SVG for web graphics.
- PNG for transparent backgrounds or general graphics.
- EPS for scalable vector graphics used in print.
Best Practices for Designing Mascots and Characters
1. Keep It Relatable
Choose attributes and characteristics for your mascot that resonate with your target audience, drawing them into the brand.
2. Simplify Details
Complex elements can be challenging to reproduce. Opt for simpler, iconic shapes that symbolize the essence of your mascot while remaining adaptable across various formats.
3. Stay True to Team Identity
Let your mascot reflect the characteristics of the team or sport. For instance, if design is for a football team, consider attributes like strength and aggression in the character’s appearance.
4. Gather Feedback
Before finalizing your mascot design, seek feedback from colleagues and potential fans. Fresh perspectives can reveal areas for improvement or strengthen the design.
5. Experiment with Various Styles
Explore different styles, including cartoonish, vintage, or modern. The right style can significantly influence how your mascot is perceived.
Conclusion: Bringing Mascots to Life in Illustrator
Creating mascots and characters for sports logos is a rewarding process that combines creativity with technical skills. Using Adobe Illustrator, you can transform your ideas into professional, polished designs capable of inspiring team spirit and connection with fans.
At My Event Artist, we are passionate about helping sports teams, event organizers, and apparel businesses develop memorable logos and mascots that capture attention. Explore our extensive collection of print-ready vector logo designs, customizable fonts, and more by visiting My Event Artist Shop. If you are interested in a custom logo design tailored specifically to your event’s unique personality, don’t hesitate to contact us today!
Keywords: mascots, character design, Adobe Illustrator, sports logos, graphic design, branding
#mascots, #characterdesign, #AdobeIllustrator, #sportslogos, #graphicdesign, #branding


Leave a Reply