Starting a t-shirt business or creating custom apparel for personal use can be an exciting and rewarding venture. One of the most critical components of designing unique and eye-catching t-shirts is having a professional logo or graphic that represents your brand or personal style. At MyEventArtist, we specialize in crafting high-quality logo designs that can elevate your t-shirt creations. In this blog post, we’ll walk you through the process of using our digital logo files to create stunning t-shirts at home, along with tips and tricks to ensure the best results. Whether you’re a beginner or a seasoned entrepreneur, this guide will help you bring your vision to life.
Why a Professional Logo Matters for Your T-Shirt Business
Before diving into the technical details of t-shirt printing, let’s talk about the importance of a professional logo. A well-designed logo is more than just a graphic; it’s the face of your brand. It communicates your identity, values, and style to your audience. Whether you’re selling t-shirts online, at local markets, or creating custom apparel for events, a polished logo can make your products stand out in a crowded market. At MyEventArtist, we understand this importance and work closely with our clients to create logos that are unique, versatile, and ready for any application—especially t-shirt printing.
When you work with us, you’ll receive your logo in multiple digital formats, ensuring you have the flexibility to use it across various mediums. Let’s explore how you can use these files to create your own custom t-shirts at home.
What You’ll Receive from MyEventArtist
When we design a logo for you, we provide a comprehensive set of digital files delivered directly to your email. These include:
- Vector Formats (.AI, .EPS, .PDF): These files are ideal for professional printing and can be scaled to any size without losing quality. They are perfect if you have access to vector design software like Adobe Illustrator or if you’re working with a print shop.
- High-Resolution Raster Formats (.PNG, .JPG): These files are widely compatible and great for at-home printing or online use. The .PNG files, in particular, are excellent for printing on heat transfer paper due to their high quality and transparent backgrounds.
While we don’t provide pre-printed transfer sheets, we’re committed to guiding you through the process of using these files to achieve professional results on your own. Let’s break down the steps to create custom t-shirts at home using our high-resolution .PNG files.
Step 1: Gather Your Materials
To get started, you’ll need a few essential tools and materials:
- A Computer and Printer: You’ll use these to access and print the logo file we send you.
- Heat Transfer Paper: This special paper allows you to transfer printed designs onto fabric. It’s available on platforms like Amazon (search for “heat transfer paper”) and comes in varieties for inkjet or laser printers, as well as for light or dark fabrics.
- T-Shirts: Choose high-quality blank t-shirts in the color and fabric of your choice.
- Heat Press or Household Iron: A heat press machine is recommended for even heat distribution and professional results, but a household iron can work for small projects or beginners.
- Scissors or a Cutting Tool: To trim the transfer paper after printing.
- Parchment Paper or a Teflon Sheet: To protect the design and your iron or heat press during the transfer process.
Step 2: Choose the Right Heat Transfer Paper
Selecting the correct heat transfer paper is crucial for a successful outcome. Keep the following in mind when shopping:
- Printer Compatibility: Ensure the paper matches your printer type (inkjet or laser). Using the wrong type can result in poor print quality or damage to your printer.
- Fabric Color: Heat transfer paper for light-colored fabrics differs from that for dark fabrics. For light fabrics, the paper is often transparent, while dark fabric paper has a white background to ensure the design shows up vibrantly.
- Product Reviews: Read descriptions and reviews carefully to confirm the paper is suitable for your project.
Step 3: Print Your Logo Design
Once you’ve downloaded the high-resolution .PNG file from the email we send you, it’s time to print it onto the heat transfer paper. Follow these tips for the best results:
- Use High-Quality Settings: Adjust your printer settings to the highest quality to ensure crisp, vibrant colors.
- Mirror the Image: Most heat transfer papers require you to mirror the image before printing so it appears correctly when transferred to the t-shirt. Check the instructions that come with your transfer paper to confirm if this step is necessary.
- Test Print: Print a small sample on regular paper first to check for alignment, color accuracy, and overall appearance before using the more expensive transfer paper.
Step 4: Transfer the Design to Your T-Shirt
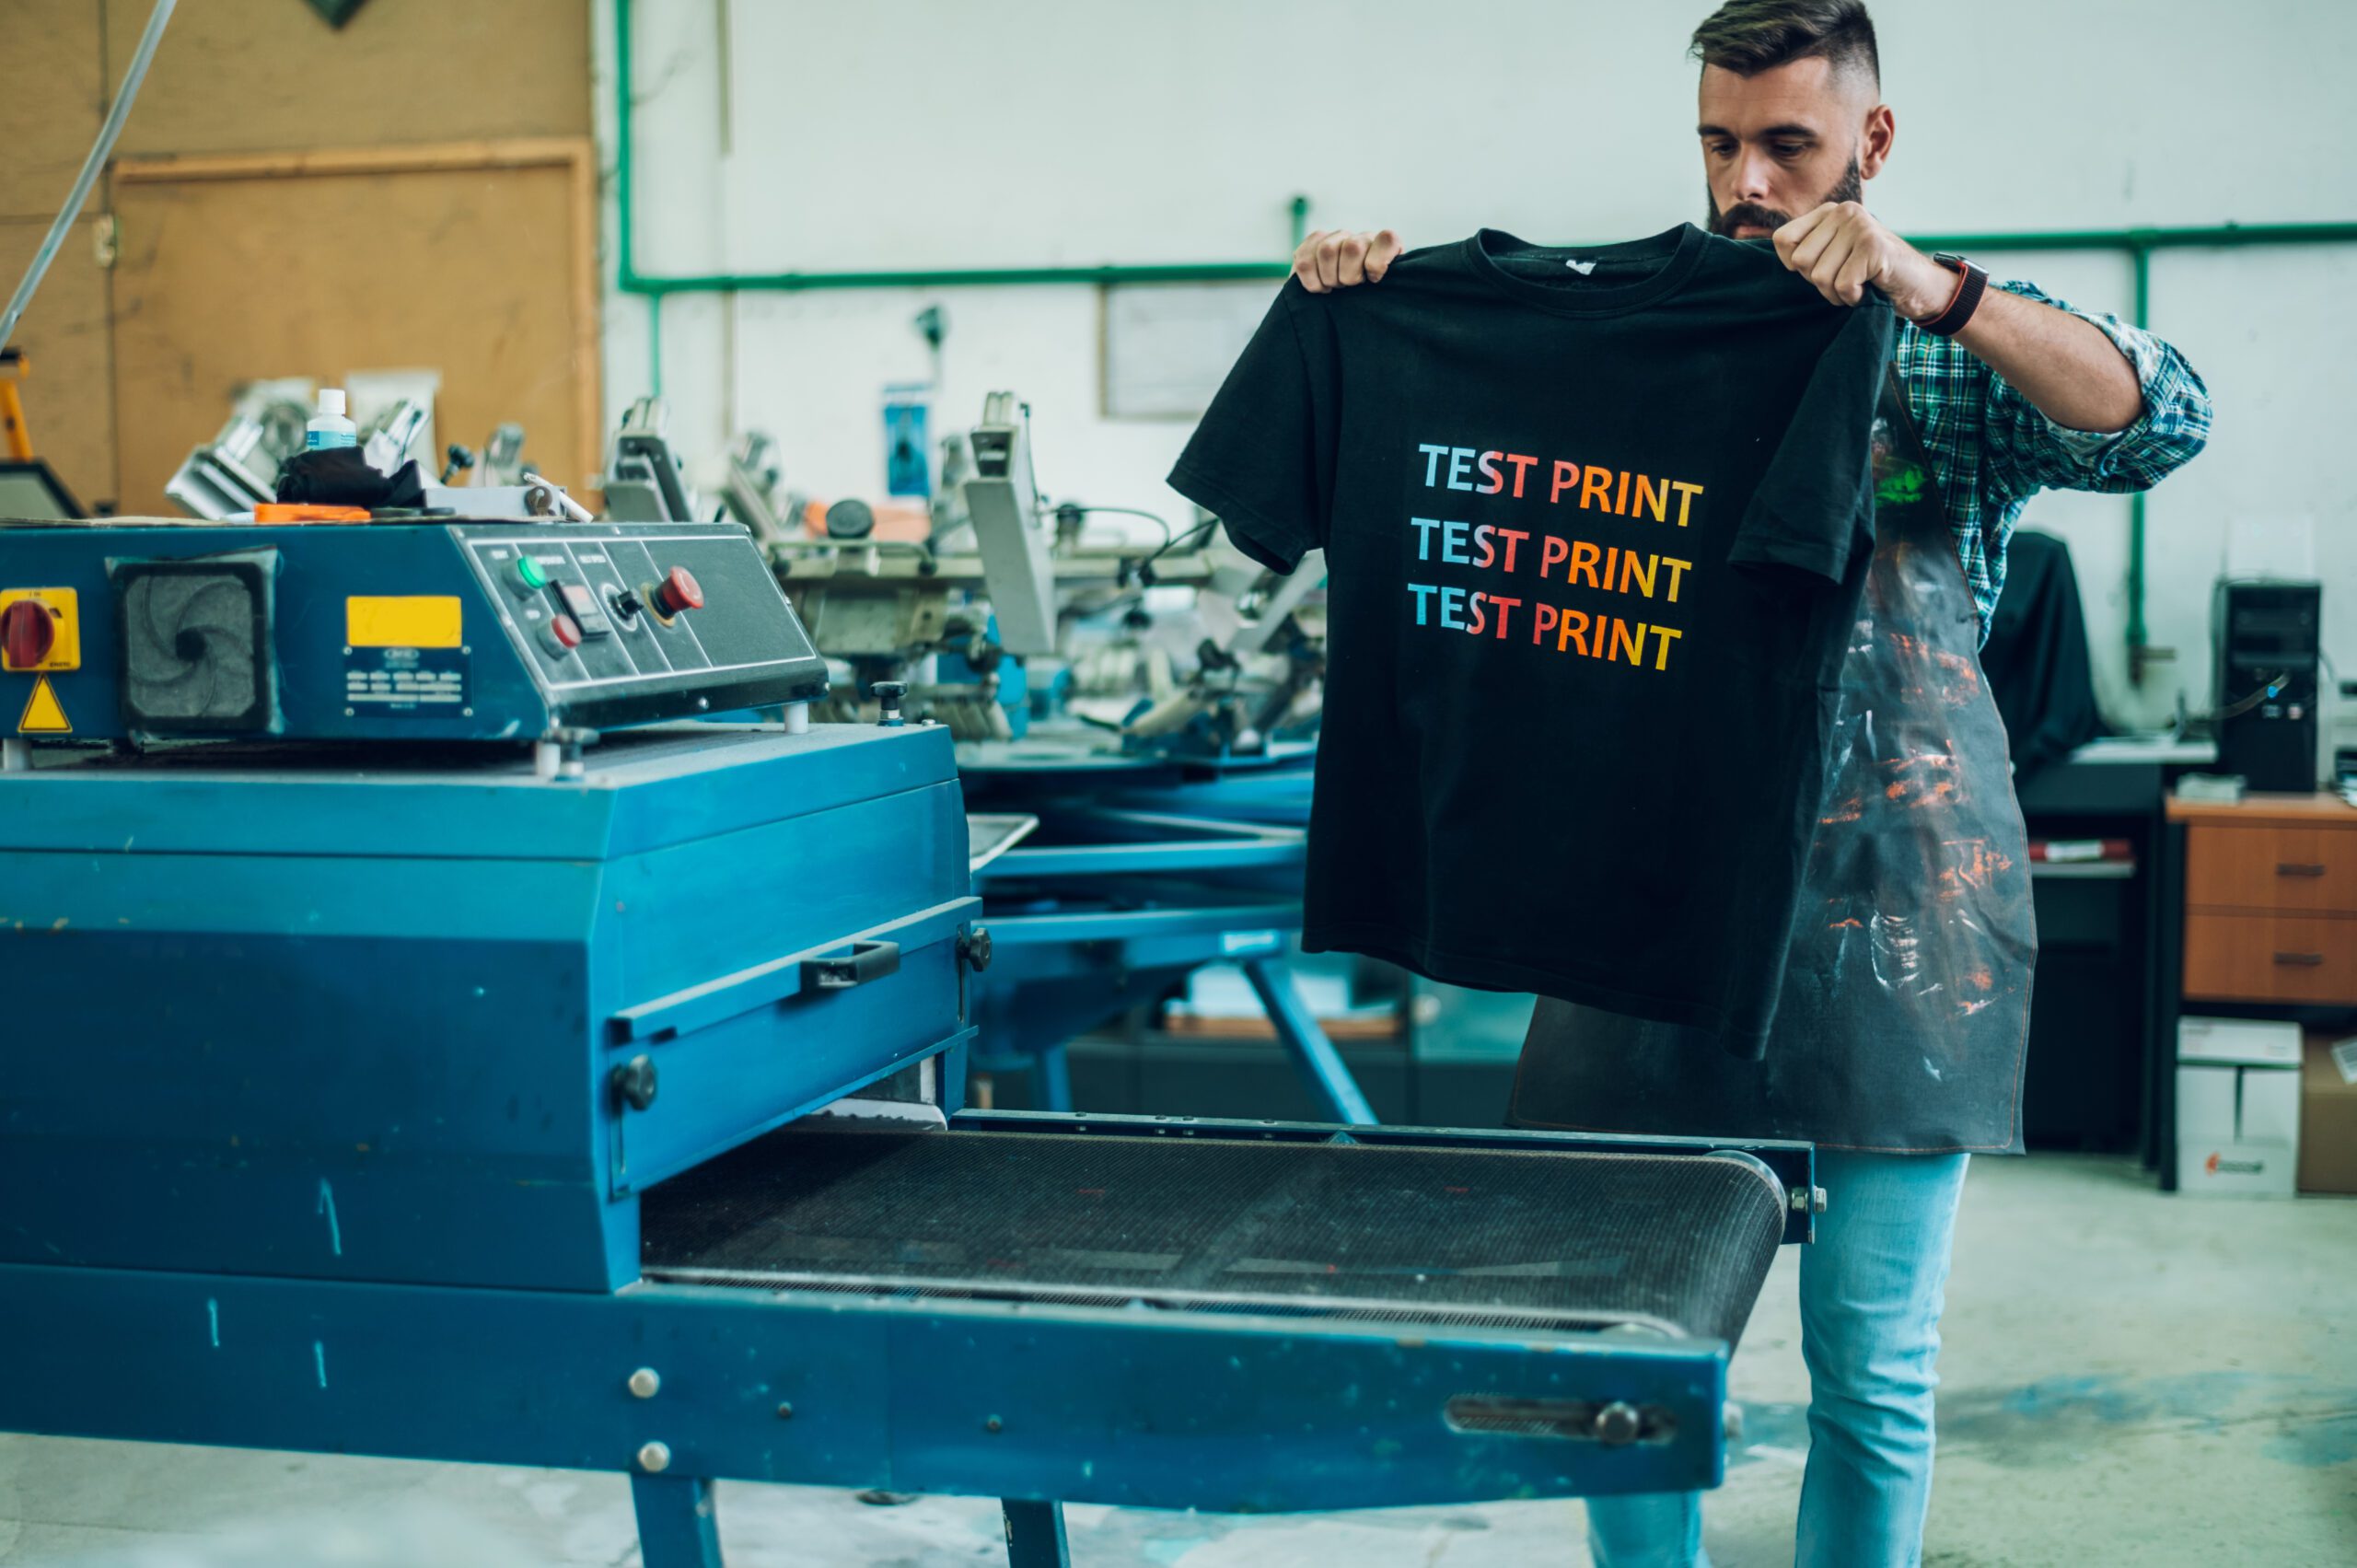
Now comes the exciting part—applying your logo to the t-shirt! Whether you’re using a heat press or a household iron, the process is similar:
- Prepare Your Workspace: Lay the t-shirt on a flat, heat-resistant surface. If using an iron, ensure there’s no steam setting enabled.
- Position the Design: Place the printed transfer paper face down on the t-shirt in the desired location. Use a ruler or measuring tape to ensure it’s centered or aligned as needed.
- Apply Heat and Pressure: If using a heat press, follow the temperature and timing guidelines provided with your transfer paper (usually around 350°F for 15-20 seconds). For a household iron, set it to the highest heat setting (without steam), press firmly, and move slowly over the design for the recommended time (often 30-60 seconds). Use parchment paper or a Teflon sheet between the iron and the transfer paper to prevent sticking.
- Peel the Paper: Allow the design to cool slightly (or as instructed by the paper manufacturer), then carefully peel off the backing paper to reveal your transferred logo.
Step 5: Test and Refine
Before applying the design to your final batch of t-shirts, do a test run on a scrap piece of fabric or an old shirt. This allows you to adjust the temperature, pressure, and timing to avoid mistakes on your good shirts. Testing also helps you confirm that the design transfers cleanly and looks as expected.
Step 6: Care for Your Custom T-Shirts
To ensure your logo design lasts as long as possible, proper care is essential. Most heat transfer papers come with specific washing and care instructions, but here are some general tips:
- Wash Inside Out: Turn the t-shirt inside out before washing to protect the design.
- Use Cold Water: Avoid hot water, which can cause the design to crack or fade over time.
- Avoid Harsh Chemicals: Skip bleach or strong detergents that might damage the transfer.
- Air Dry or Low Heat: If possible, let the shirt air dry. If using a dryer, set it to a low heat setting to prevent shrinking or peeling.
Additional Resources and Alternatives
If you’re new to the process of creating t-shirts at home, don’t worry—there are plenty of resources to help. YouTube is an excellent place to find visual tutorials. Simply search for “how to use heat transfer paper for t-shirts,” and you’ll discover a variety of beginner-friendly guides that walk you through each step.
If you find that at-home printing isn’t for you, another option is to take the high-resolution .PNG or vector files we provide to a local print shop. Many shops offer direct-to-garment (DTG) printing or can create transfers for you, saving you time and ensuring a professional finish.
Why Choose MyEventArtist for Your Logo Designs?
At MyEventArtist, we’re passionate about helping you succeed in your creative endeavors, whether that’s launching a t-shirt business, designing apparel for an event, or creating personalized gifts. Our team is dedicated to providing logos that are not only visually stunning but also versatile and easy to use across different platforms and printing methods. We offer:
- Custom Designs Tailored to You: We work closely with you to bring your vision to life, ensuring your logo reflects your brand or personal style.
- Multiple File Formats: Our digital files give you the flexibility to print at home, work with professional printers, or use the designs online.
- Ongoing Support: Have questions about using your logo files or the t-shirt printing process? We’re just an email or phone call away.
Browse MyEventArtist.com for Downloadable and Custom Logo Designs
Ready to take the first step toward creating amazing custom t-shirts? Visit us at MyEventArtist.com to explore our wide range of downloadable logo designs or request a custom logo tailored specifically to your needs. Our user-friendly website makes it easy to find the perfect design or collaborate with our talented team to create something truly unique. Whether you’re a small business owner, an event planner, or just someone looking to express their creativity, we have the tools and expertise to help you stand out.
Don’t wait—start designing today! Browse our collection or contact us for a custom quote at MyEventArtist.com. Let’s bring your t-shirt ideas to life with a logo that makes a lasting impression.


Leave a Reply