


If Adobe Illustrator is showing a “missing font” warning when opening a file (e.g., .ai or .pdf), it means the font used isn’t installed on your system or synced via Adobe Fonts. Illustrator relies on your operating system’s font library or Adobe’s cloud fonts. The process involves installing the font at the system level first, then refreshing Illustrator. I’ll cover the steps for Windows and macOS (most common), assuming you’re using a recent version like Illustrator 2023 or later. If you’re on Creative Cloud, Adobe Fonts integration simplifies things.
Step 1: Download and Install the Font System-Wide
Fonts must be installed on your OS before Illustrator can use them. This is the same as general font installation—skip if you’ve already done it.
- Identify the Font: In Illustrator, open the file > Go to Type > Find Font (or Window > Type > Find Font panel). Note the exact font name and style (e.g., “Helvetica Bold”).
- Download the Font:
- Free: Google Fonts (fonts.google.com), Font Squirrel (fontsquirrel.com), or DaFont (dafont.com).
- Licensed: Adobe Fonts (fonts.adobe.com) if you have Creative Cloud—search and activate it (no download needed; see Step 2).
- Formats: Get .ttf or .otf files.
- Install on Windows (10/11):
- Download and extract the .ttf/.otf file.
- Right-click the file > Install (or Install for all users).
- Alternatively: Settings > Personalization > Fonts > Drag and drop the file into the “Add fonts” section.
- Install on macOS (Ventura or later):
- Download and double-click the .ttf/.otf file to open in Font Book.
- Click Install Font. If prompted, resolve duplicates or conflicts.
- Restart Illustrator after installation to load the font.
Tip: Always download from trusted sources and scan for malware. Check the font’s license for commercial use.
Step 2: Use Adobe Fonts (If You Have Creative Cloud Subscription)
If the font is available via Adobe Fonts (formerly Typekit), this is the easiest way—no manual install required.
- Open the Creative Cloud app (desktop version).
- Go to Fonts (or search for “Adobe Fonts” in the app).
- Search for the font name > Click Activate (it syncs to your system automatically).
- In Illustrator: Restart the app, or go to Window > Type > Glyphs to check if it’s listed.
- For the document: Open the file > Use Type > Find Font to replace missing fonts with the newly activated one.
This method ensures fonts are available across all Adobe apps and devices.
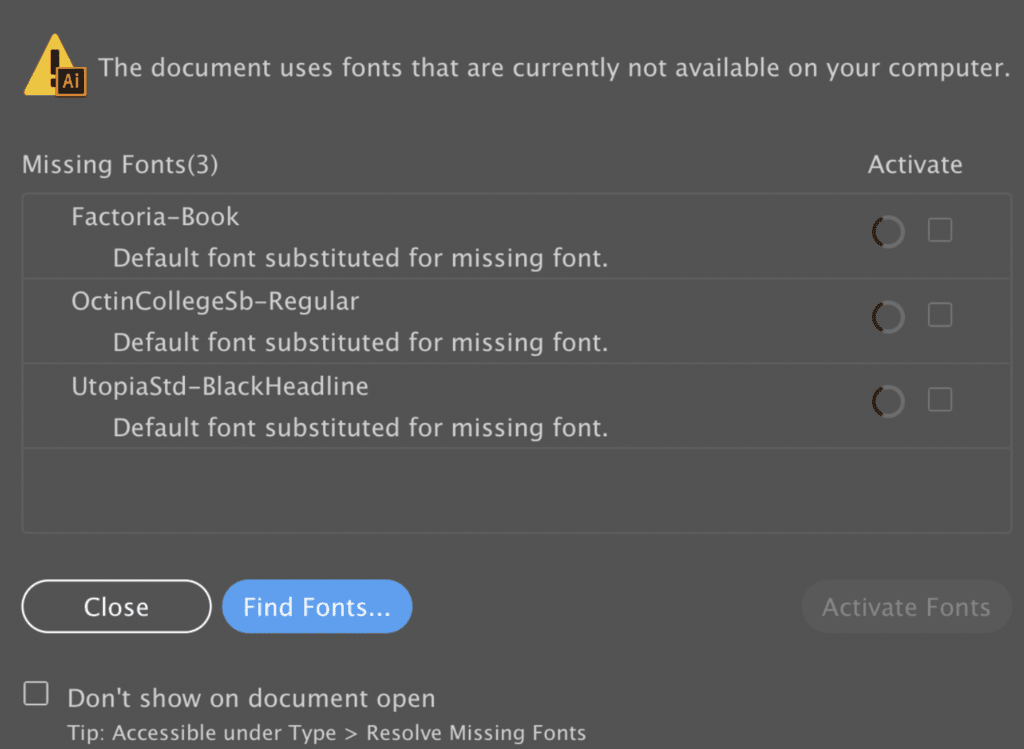
Step 3: Handle Missing Fonts in an Existing Illustrator File
Once installed/activated:
- Open the .ai file in Illustrator.
- If warned about missing fonts, click OK—Illustrator substitutes with a default like Helvetica.
- Open the Find Font panel: Window > Type > Find Font.
- Select the missing font in the list.
- Choose a replacement from the dropdown (e.g., the installed version).
- Click Change All to apply.
- Save the file: File > Save As > Ensure Embed Fonts is checked in the options (for PDFs: Export > Adobe PDF > Options > Embed All Fonts).
If the font can’t be replaced easily, outline text (Type > Create Outlines) to convert it to vectors—no font needed.
Step 4: Verify and Troubleshoot
- Check if Installed: In Illustrator, create a new text box > Select text tool > Look in the Character panel (Window > Type > Character) font dropdown. Search for the font.
- Common Issues:
- Font Not Appearing: Restart your computer and Illustrator. On Windows, restart the “Windows Font Cache Service” (search in Services app). On macOS, quit Font Book and run sudo atsutil databases -remove in Terminal, then restart.
- Creative Cloud Sync Issues: In Creative Cloud app, go to Help > Sign Out > Sign In. Check for updates via Apps > Update.
- Permissions/Conflicts: If on a work machine, you may need admin rights. Resolve font conflicts in Font Book (macOS) by right-clicking > Resolve Duplicates.
- Old Versions: For Illustrator CS6 or earlier, fonts only work from system installs—no Adobe Fonts support.
- File-Specific Problems: If the file is from someone else, ask them to outline fonts or provide the .ai with embedded fonts before sharing.
- Performance Tip: Too many fonts can slow Illustrator—manage them via Creative Cloud or Font Book to deactivate unused ones.
Additional Notes
- No OS Changes Needed: Illustrator doesn’t require special setup beyond system fonts.
- Alternatives if Installation Fails: Use similar web-safe fonts (e.g., Arial for Helvetica) or convert text to outlines. For batch fixes, use scripts from Adobe’s community forums.
- Resources: Check Adobe Help (helpx.adobe.com/illustrator) for your version, or the Typekit/Adobe Fonts site. If you’re on a different OS (e.g., Linux), Illustrator isn’t officially supported—use alternatives like Inkscape.
This should resolve the missing font issue in your Illustrator project. If you share your OS version, Illustrator version, or the specific font/error message, I can provide more tailored steps!
Explore More of What We Offer
Looking for more designs, downloads, or custom artwork? Explore our full selection:
*** REQUEST CUSTOM LOGO DESIGN: https://myeventartist.com/product/request-custom-event-logo-design/
- Sample Designs: https://myeventartist.com/product-category/event-design-concepts/
- Custom Logo Design: https://myeventartist.com/product-category/print-ready-event-designs/
- Downloadable Event Vector Logo Designs: https://myeventartist.com/product-category/print-ready-event-designs/
- Free Vector Background Designs: https://myeventartist.com/product-category/logo-backgrounds/
- Free Vector Mascot Logo Designs: https://myeventartist.com/product-category/mascots/
- Free Sports Figures Vector Designs: https://myeventartist.com/product-category/sports-figures/
- Free Vector Titles Designs: https://myeventartist.com/product-category/titles-for-sport-events/
- Our Custom Apparel Stores: https://myeventartist.com/product-category/our-designed-tshirts-and-hoodies/
- Shop Page: https://myeventartist.com/shop/